For the novice photographer, capturing images at night can be a blur. Literally. Applying the same daytime photography techniques to nighttime shots can be frustrating. So, what is the secret to taking stunning photographs in low light? After speaking with a few professional photographers, each with different styles, they had some tips to share that could bring a photo from mediocre to stunning.
Bryan Hansel, a professional photographer out of Grand Marais, began learning about the art of capturing and developing photos more than 30 years ago in high school and college. One of Hansel’s favorite things to photograph is the Milky Way. He says that having the right camera gear is of utmost importance. His primary lens is a 14-24 millimeter Nikon, which is a wide-angle lens.
“Generally speaking, you need a wide lens and fast lens. Also, autofocus systems don’t work well for nighttime photography, so you need manual,” Hansel said.
In order to photograph the Milky Way, Hansel keeps his shutter open for a longer period of time so he can capture the “star trail.” He says to use a shutter release cord or remote to do this because it eliminates having to physically press the shutter, which causes movement and, ultimately, a blurry photo.
“The longer the shutter is open, the longer the trails. Try pointing your camera at the North Star, and leave it open for an hour. Come back and all the stars have gone around the North Star,” he added.
Hansel spends more than half of the year on the road for photo trips, teaching classes in national parks. Last year, he spent 100 days this way, scouting, shooting, and teaching on the road.
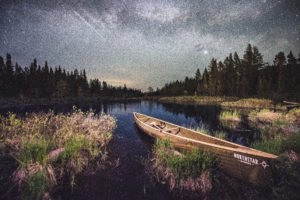
“If I’m not shooting, I’m scouting. After scouting, it is all about judging the light. I will typically go to a spot that I have already scouted out because I know it will work with that kind of light,” he said.
Beyond scouting, anticipating natural events like Aurora Borealis is also helpful.
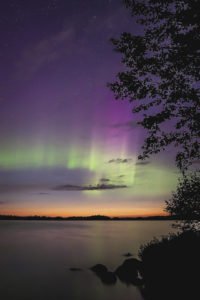
Ely based photographer, Heidi Pinkerton uses sites like spaceweather.com to track when Aurora Borealis will be out in full force and is known for her photos of it. With her full frame camera, she uses a wide-angle, 16-35 millimeter lens with an ISO of 500, f/2.8, and keeps her shutter open for 30 seconds. In case this sounds foreign, ISO stands for “International Standards Organization” and it is a standardized industry scale for measuring sensitivity to light. In general, the higher the ISO, the more sensitive the camera lens is to light. The “f/2.8” refers to the “focal stop” which is the opening that lets light into your camera. The number “2.8” is the size of that opening.
The result of these settings, at least for Pinkerton, are photographs of Aurora Borealis that look better than the naked eye can see.
“The reason that the photos look better is because you have 30 seconds of that image collecting on that data sensor of your camera. While your eyes see it as a moving picture,” she said.
Pinkerton also knows how to correctly process her photos in order to get the best quality image. Her husband is a software engineer for Photoshop, and is one of the reasons she got her start in photography. In 2004, Photoshop sent them a Canon Rebel to test out. She has been honing her photography and editing skills in the Ely area ever since.
Last but not least, Ontario based photographer and outdoor writer, James Smedley, says to definitely use a tripod.
“A tripod is almost a must for night photography, because you are dealing with slow shutter speed and low exposure. Unless you want a blurry image, you need a tripod.”
He says it can sometimes be a pain to always have a tripod with you, but if you don’t have one, you may miss opportunities.
“Photography is all about light, the ambient light you have, the northern lights, the stars, moon, street lights. It’s making the most of that light,” he said.
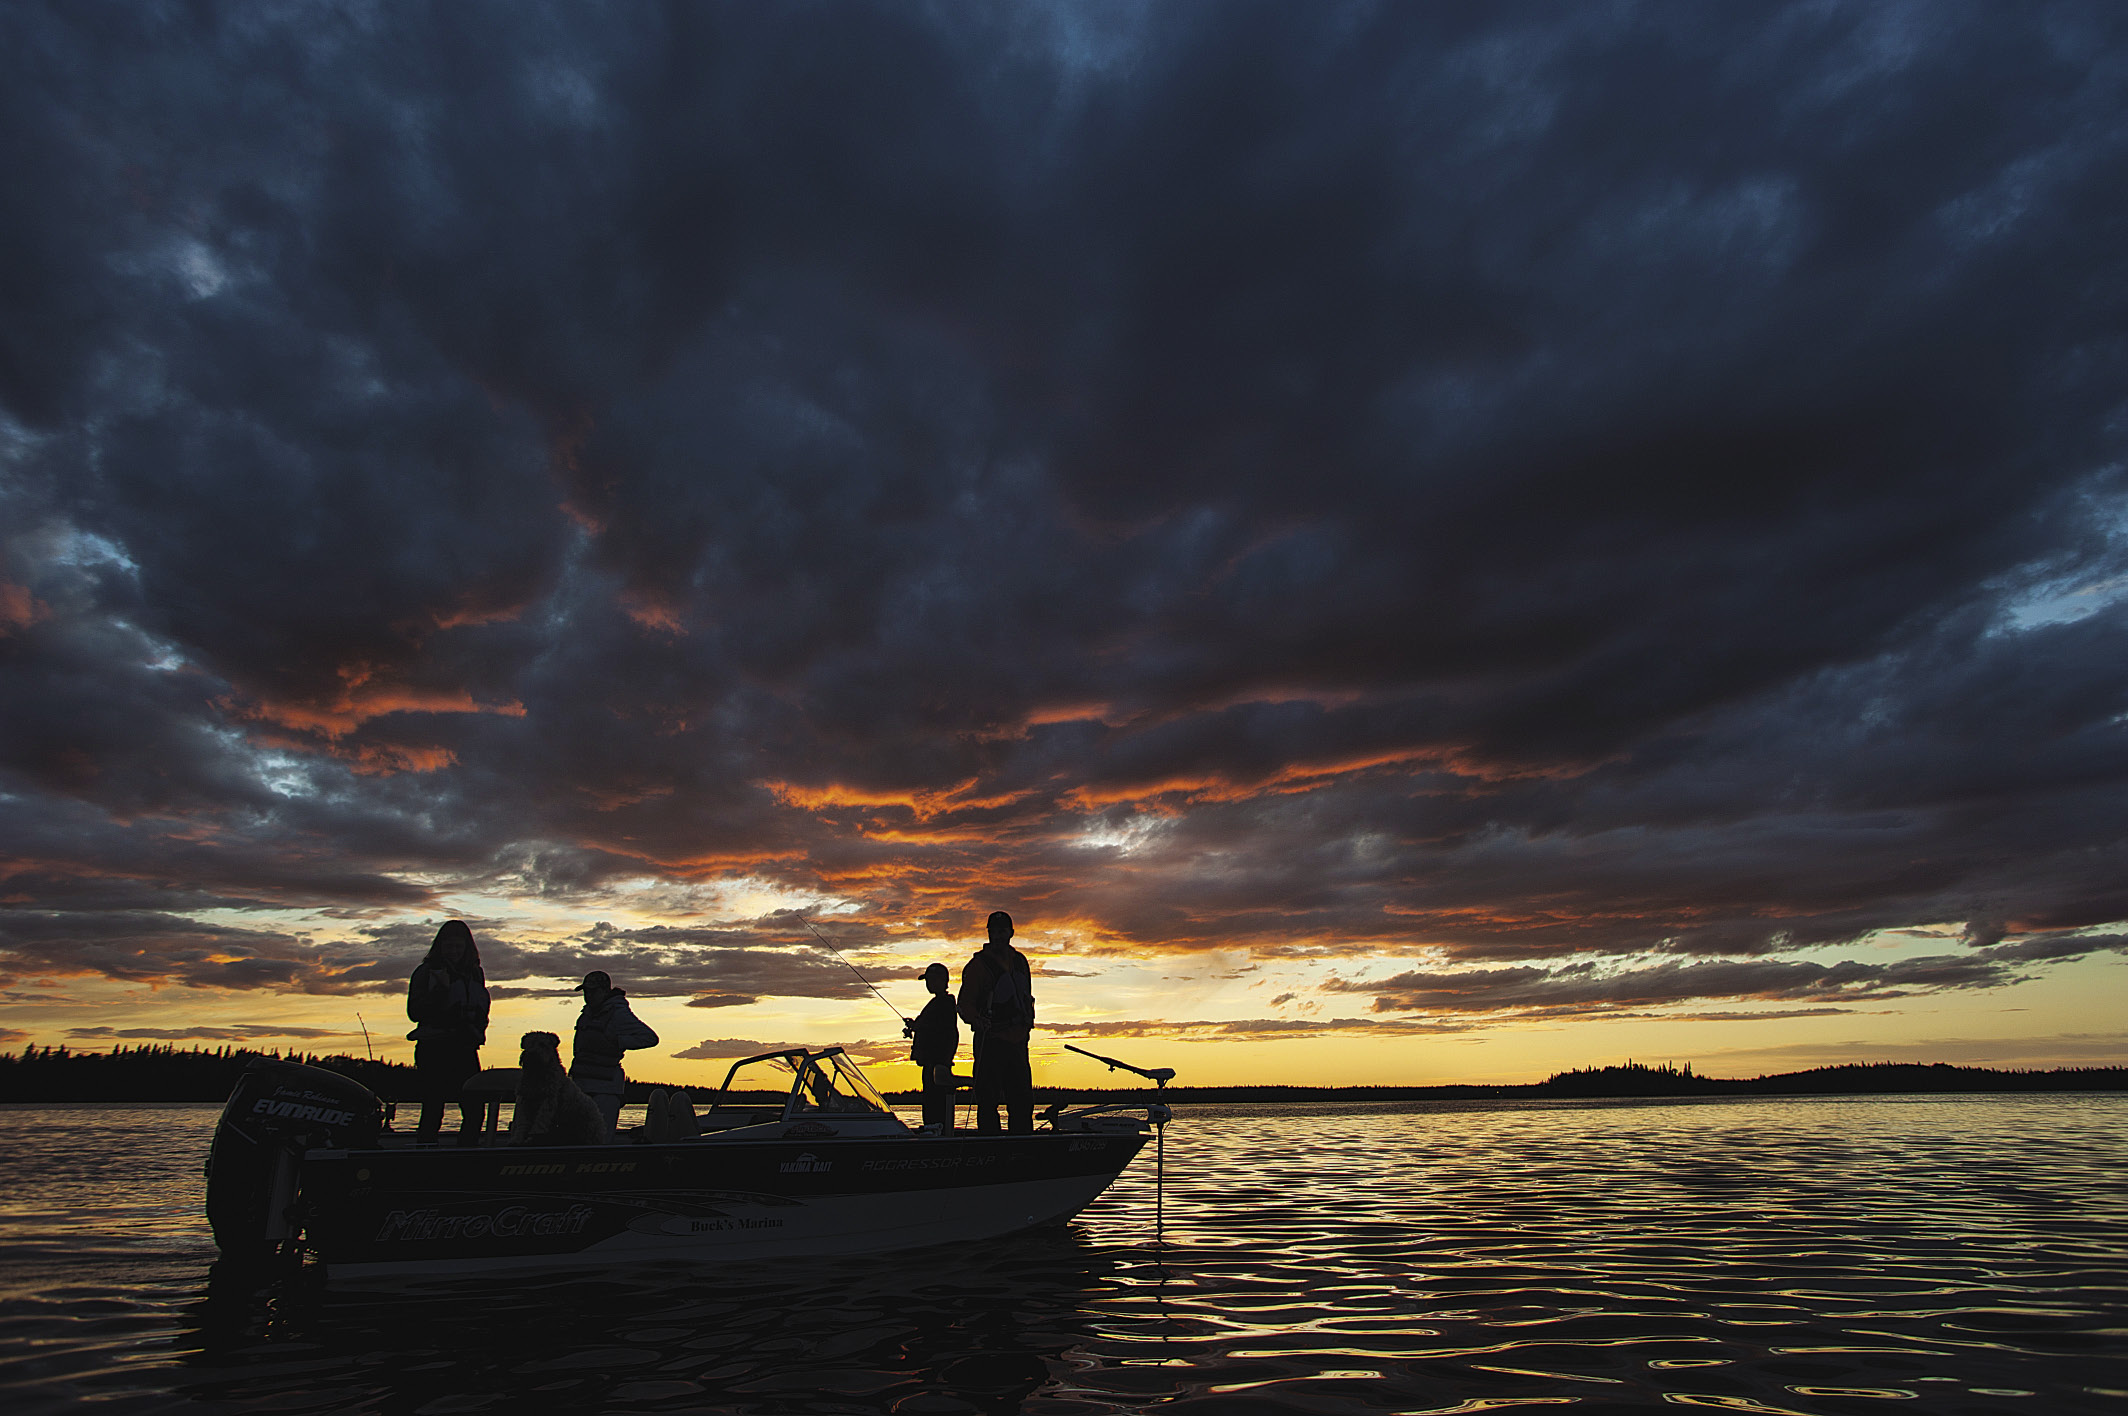
Smedley excels at taking dramatic, silhouette style outdoor photos. Another tip he has is to just keep shooting, because you never know what the light may turn into unless you stick around.
“A lot of times at night, as you’re losing light, you should keep sticking around and shoot the same scene, because it changes. It goes by quickly but can give you some of the best light,” Smedley said.
So the right gear, scouting out locations, anticipating good light, and learning to process an image with programs like Photoshop, are all key to creating great images. Last but not least, get outside and start shooting. Like any craft, it only improves with practice.
For more information about the photographers featured in this story, visit their websites.
Bryan Hansel: bryanhansel.com
Heidi Pinkerton: shop.rootriverphotography.com
James Smedley: jamessmedleyoutdoors.com
